A Quick Integration Guide
Integrating Waga into your system starts with generating your API key. Follow these steps to seamlessly create your key and connect your application to the WagaPAY platform.
Step 1: Sign Up for a WagaPAY Account
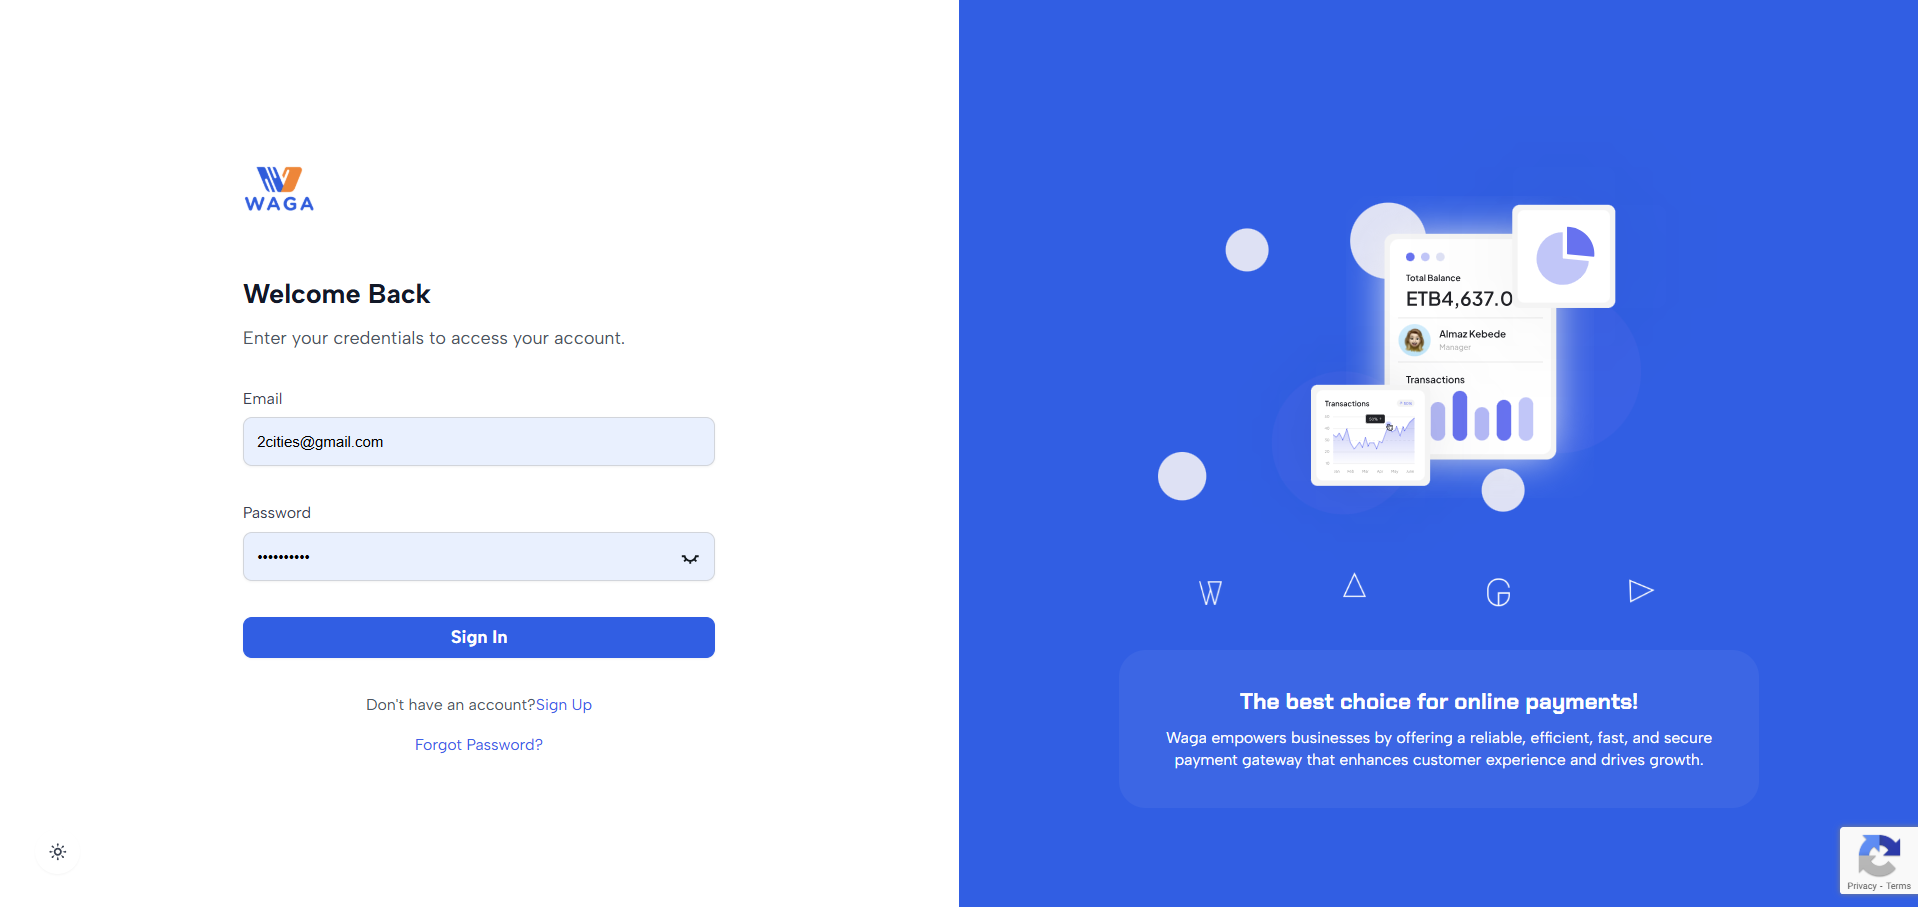
To begin, you’ll need a WagaPAY account. This will give you access to the dashboard, where you can manage payments, generate API keys, and monitor transactions. Visit dashboard.wagapay.net (opens in a new tab)

Step 2: Generate Your API Keys
Once your account is set up, the next step is to generate your API keys. These keys are essential for authenticating and authorizing access to our APIs. Depending on your needs, you may want to generate either a test API key or a live API key.
- Test API Key: Used for development and testing purposes. It allows you to interact with the API without affecting real data.
- Live API Key: Used for production environments. It provides access to real data and should be handled with care.
To generate your API key, start by navigating to the Settings section found in the left sidebar of your Waga dashboard. Once in the settings, click on API to access the API key management area. From there, simply click the Generate API Key button to create your new key.

Note: If your compliance form is not yet approved, you’ll only have access to Test Mode. To switch to Live Mode, ensure your compliance is approved and toggle the mode switch at the top-right of your dashboard.

Step 3: Choose Your Development Stack
WagaPAY supports a wide range of programming languages and frameworks, so you can choose the tools that best fit your project. Here are some popular options:
- Languages: JavaScript, Python, PHP, Java, etc.
- Frameworks: React, Node.js, Django, Laravel, etc.
Step 4: Explore WagaPAY’s API Documentation
WagaPAY provides detailed API documentation and sample code to make integration seamless. Here’s what you’ll find:
- Accept Payments: Learn how to process payments using WagaPAY’s API.
- HTML Checkout: Build a simple checkout page using HTML and JavaScript.
- Verify Payments: Understand how to verify and track payment statuses.
Step 5: Test Your Integration in Sandbox Mode
Before going live, it’s crucial to test your integration in WagaPAY’s Sandbox Environment. This allows you to simulate transactions and ensure everything works as expected.
- Enable Test Mode by toggling the switch at the bottom left of your dashboard.
- Use the test API keys provided in the API section.
- Simulate payments and verify the integration.
Step 6: Go Live and Start Processing Payments
Once you’ve tested your integration and everything is working smoothly, it’s time to go live!
- Switch to Live Mode by toggling the mode switch.
- Update your application with the live API keys.
- Deploy your integration to the production environment.
